We have thousands of human-written stories, discussions, interviews and reviews from today through the past 20+ years. Find them here:

June 2009
Carving a scroll - step by step - part XI
June 30, 2009 17:05
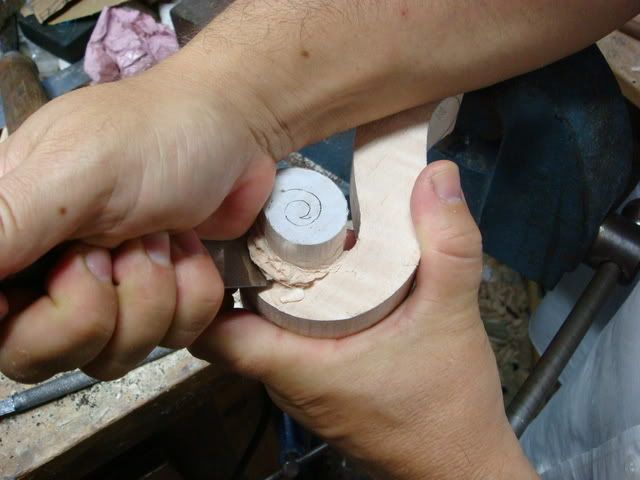
Now I will shape the chin of the pegbox, mine is in the form of a half circle, following the Cremonese School, but some may be more oval shaped:
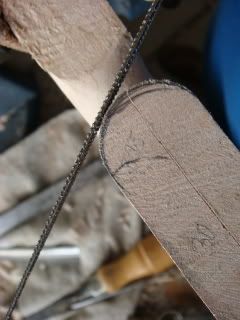
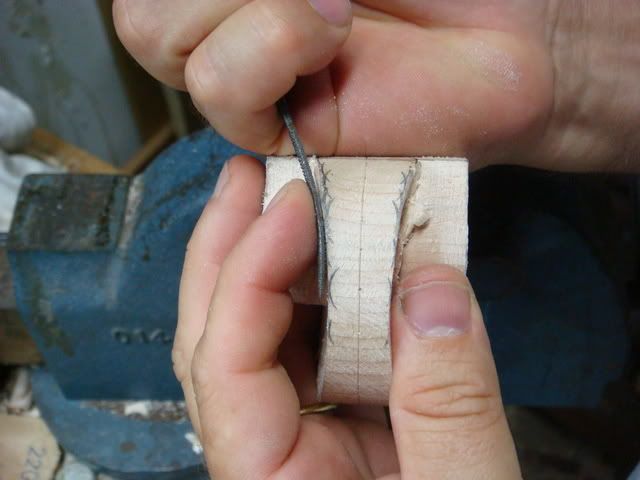
Now the chamfer, I'll do this with a small coarse file and refinish with a scraper. Keep the file in the same position, the chamfer may not be rounded or finished with sandpaper:
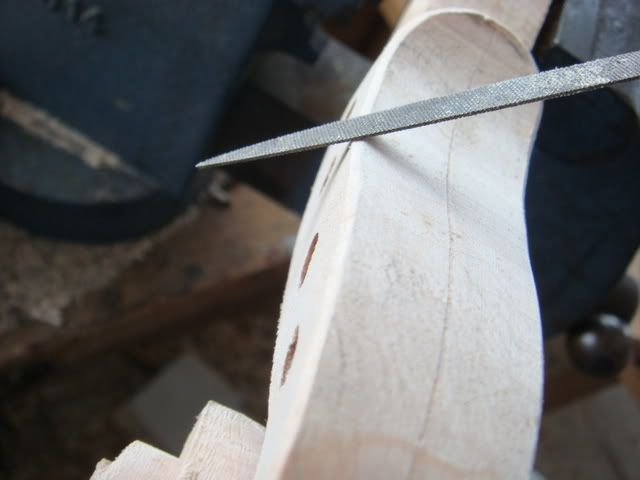
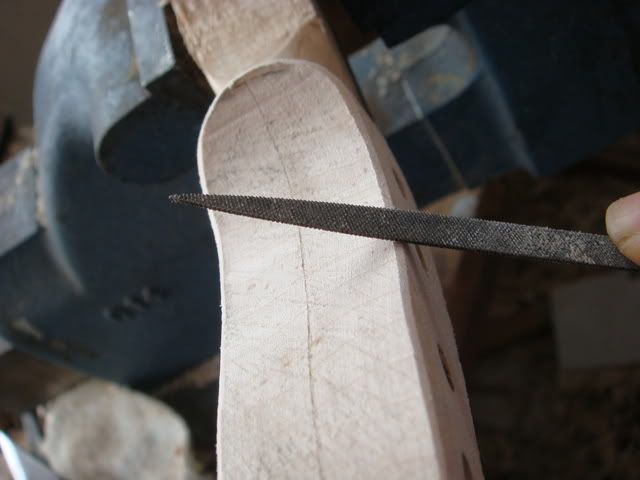
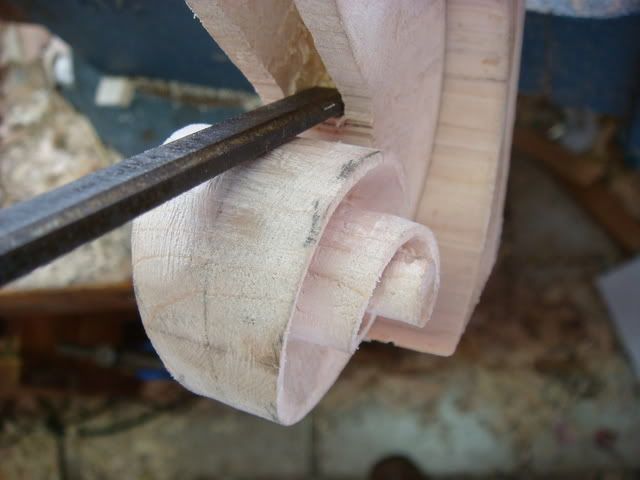
The two lines of the chamfer may run parallel, that's quite quite important. Here now I'm working with a small gouge to undercut the turns and reach the inner line of the chamfer.
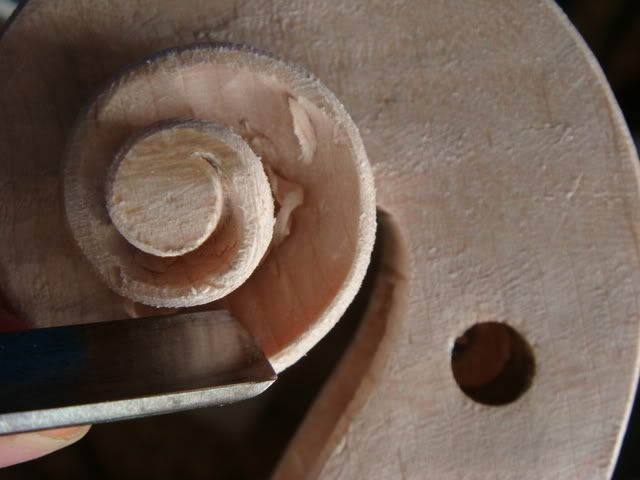
In Italian the chamfer is called "nastrino", that is, little ribbon, and I like the idea of a little ribbon runing through the scroll.
The chamfer in old instruments may have become emaciated and desfigured by the abrasion of the player's hand, it's hard to find a Del Gesù or a Stradivari that has preserved and crip chamfers on the scroll.
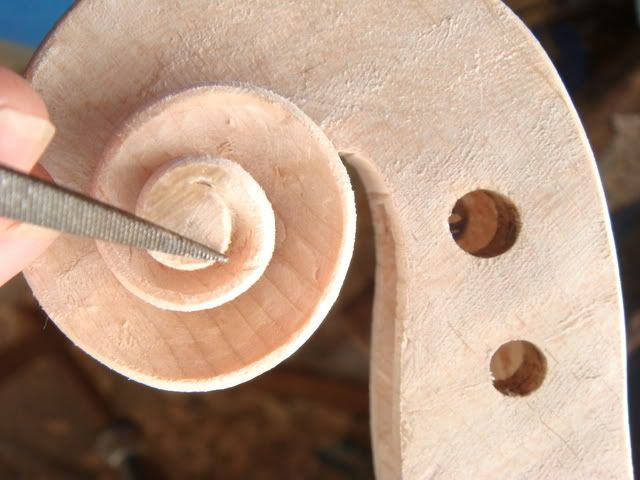
The chamfer varies in width, depending on its place. It's a bit wider in the chin region and in the end of the turns, on the eye. Here I'm making a narrow chanfer in the eye region:
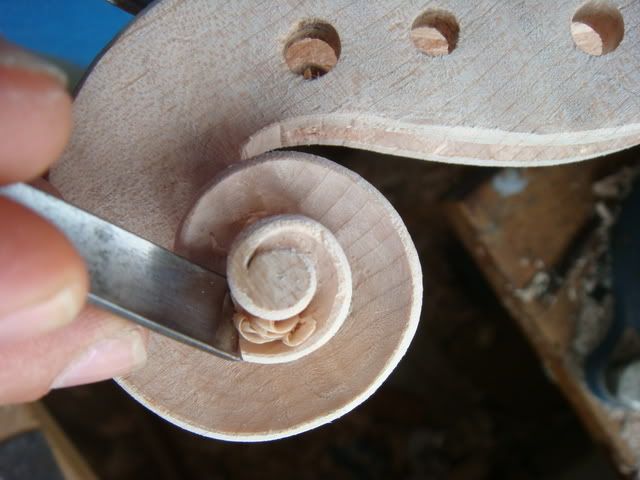
Here I'm undercutting again, preserving the inner line of the chamfer:
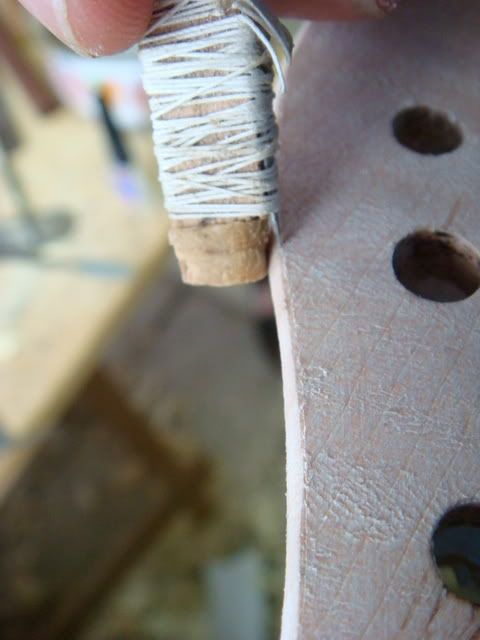
If you want, you may mark the lines of the chamfer with a simple marking tool like this. It's a scalpell knife glued in a piece of wood with sewing line and super glue. I'm not using this tool in this scroll, but I used it in the past:
Carving a scroll - step by step - part X
June 28, 2009 14:14
Now I drill holes to carve the pegbox, take care with the depth of the hole:
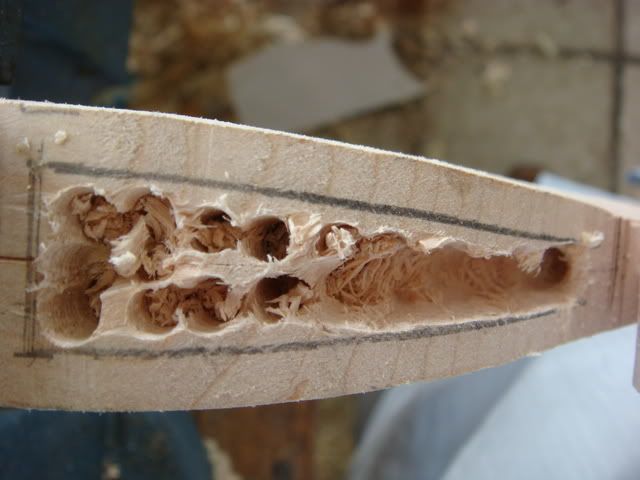
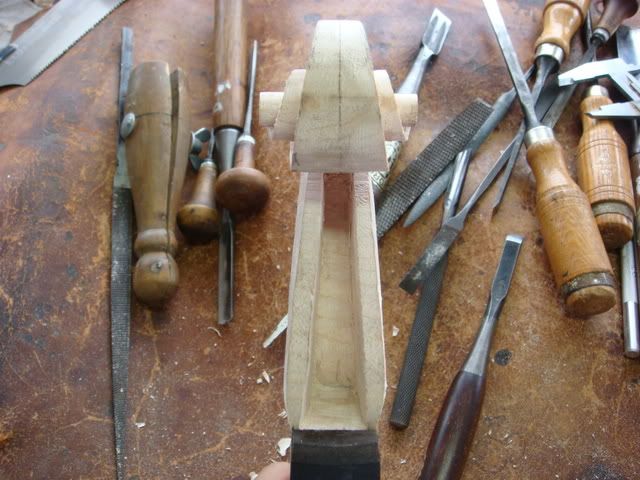
Now the pegbox is excavated, This is a work for my "garzoni di bottega" (shop assistants), it's the normal way to get them involved in our craft, my father did the same with me, of course they are all the time under my supervision:
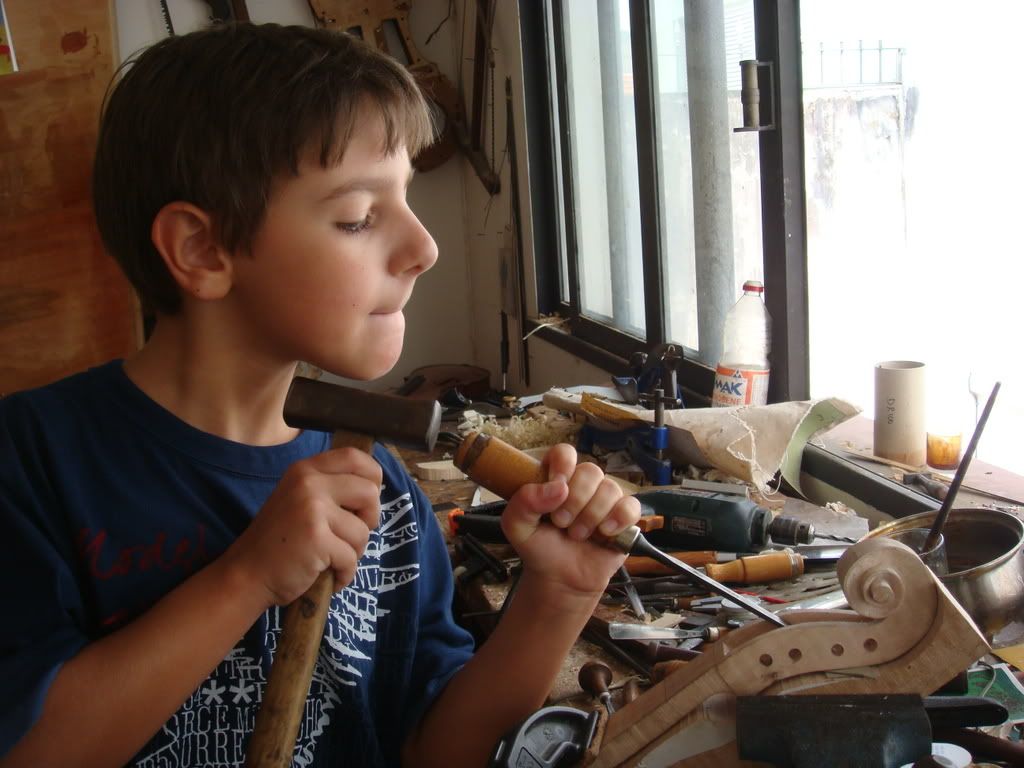
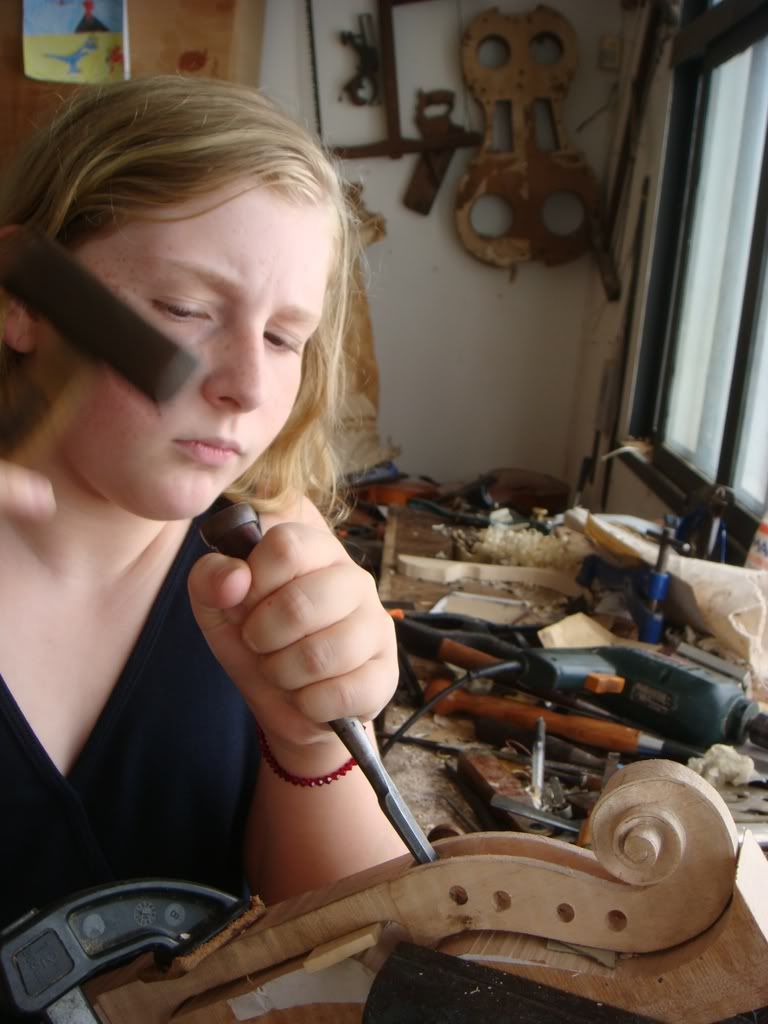
Notice the position of the chisel in this area, as well as the sawn neck block backing the scroll to suport it:
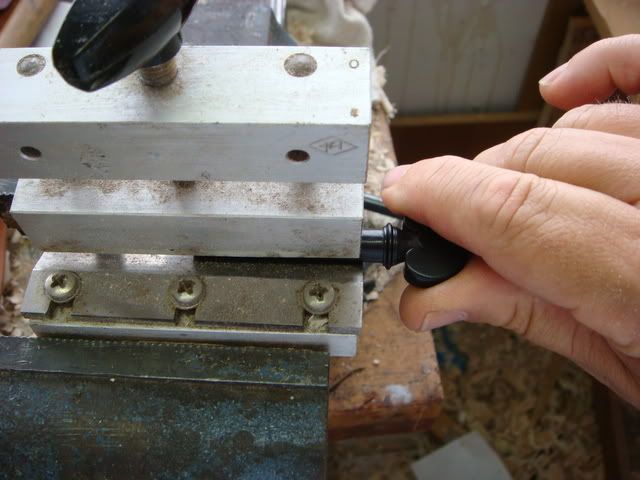
Here the upper nut is already glued:
Shaping the pegs:
Oooops!!! I've forgotten to take some pics!!! I draw some circles to locate the peg holes, drill them and use a reamer to shape the peg hole. And now the pegs are already in their place...
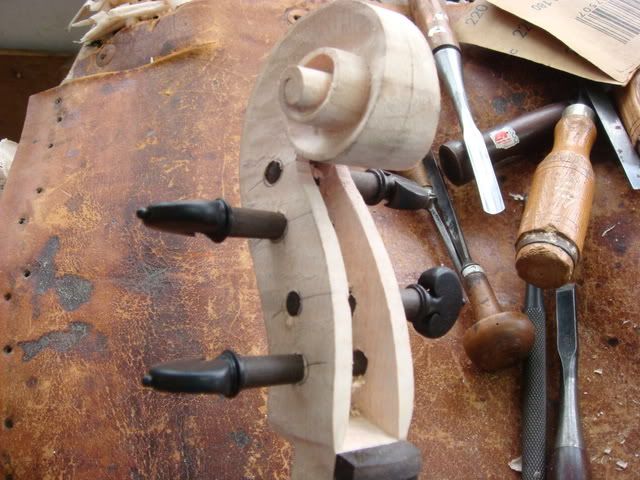
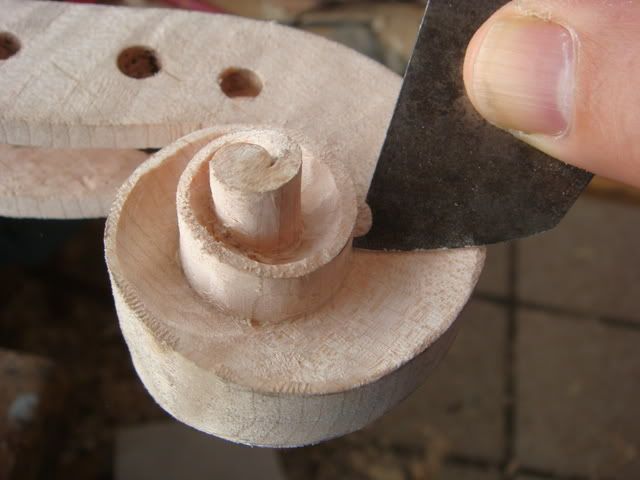
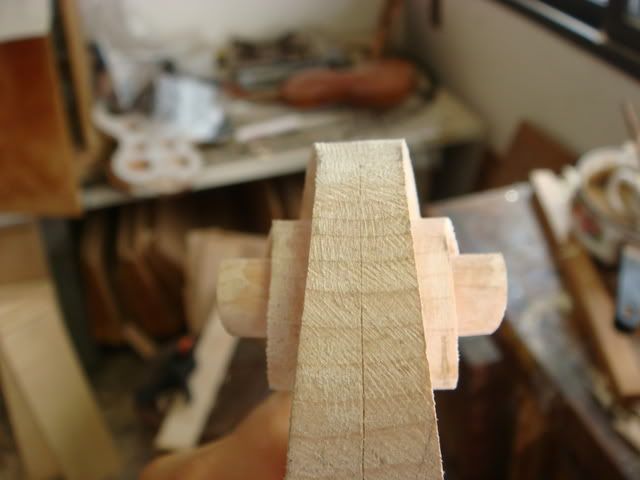
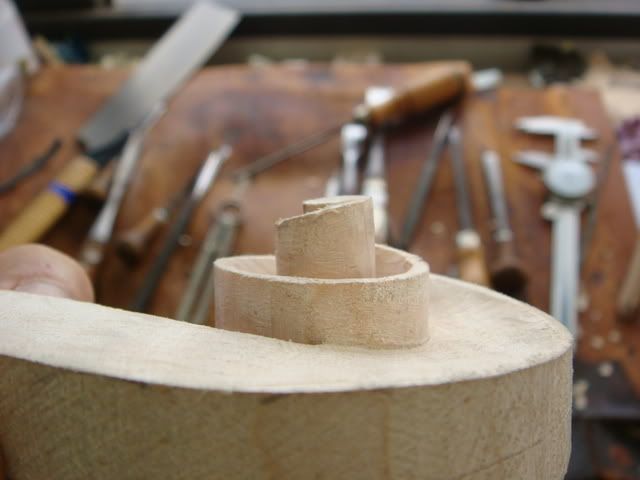
Cleaning a bit more the surfaces with a shaped scraper. The use of the scraper is essential to create crisp lines, as seen in old instruments, the excessive use of the sandpaper can round all the edges creating an uninteresting look that we see in many scrolls, so the best thing is allways working with scrapers, that is true to the rest of the instrument too:
Carving a scroll - step by step - part IX
June 26, 2009 15:11
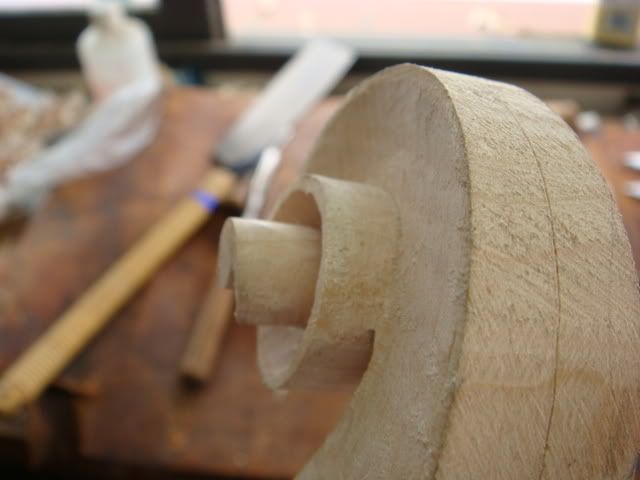
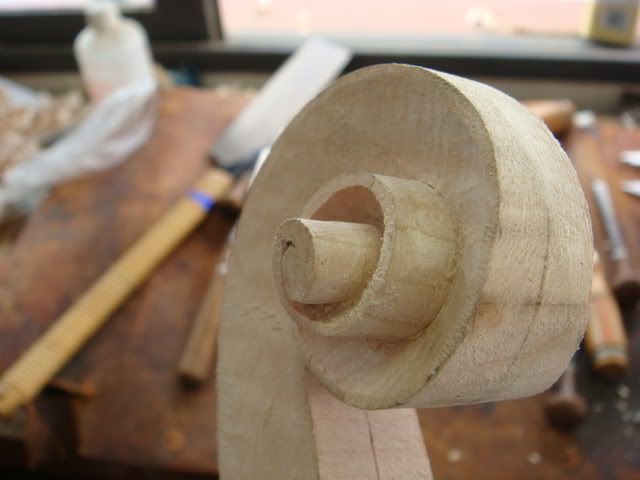
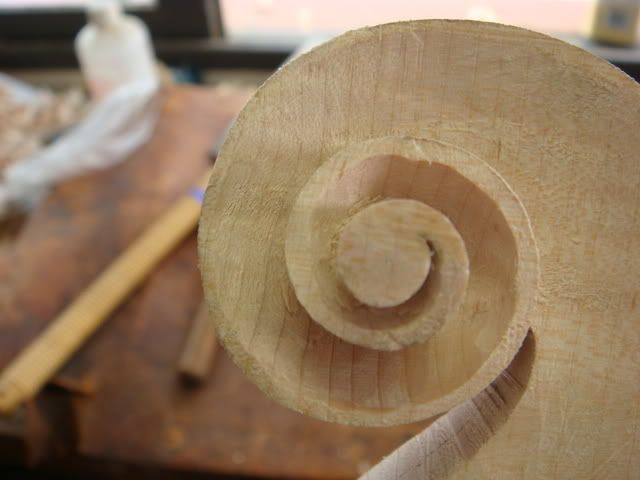
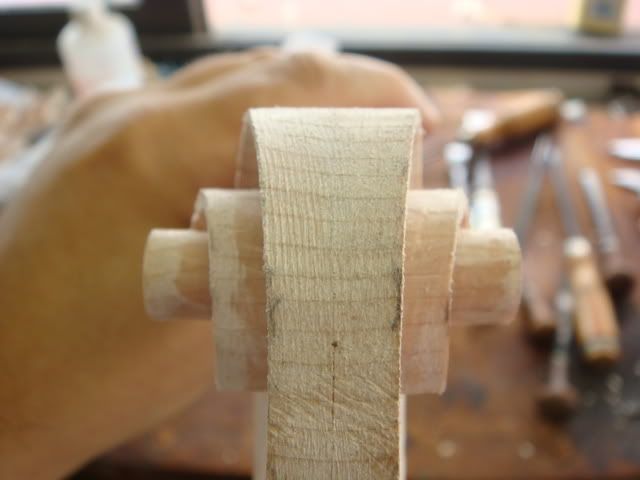
I continue scraping the surfaces:
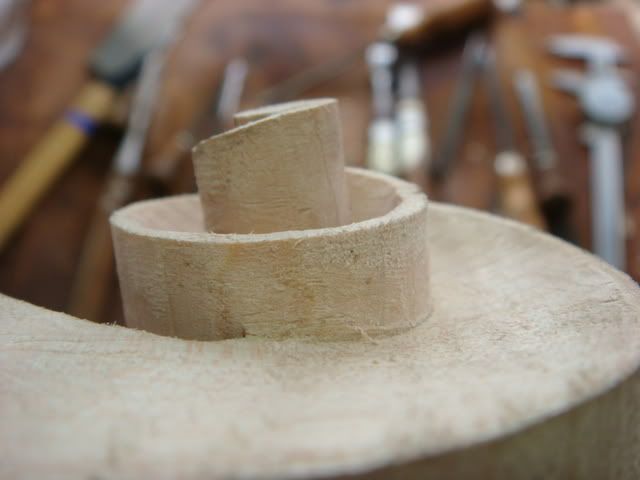
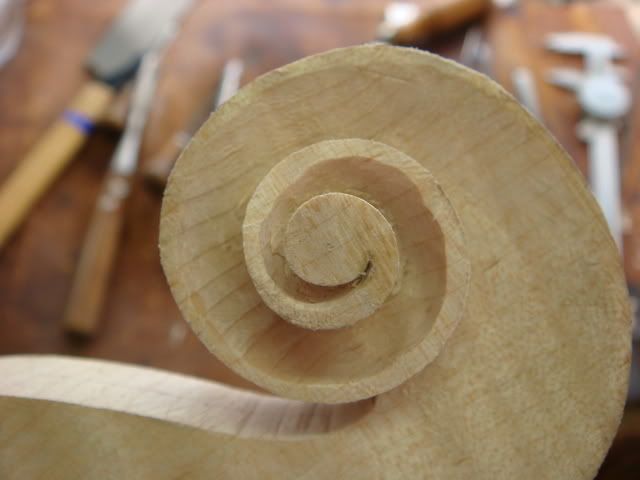
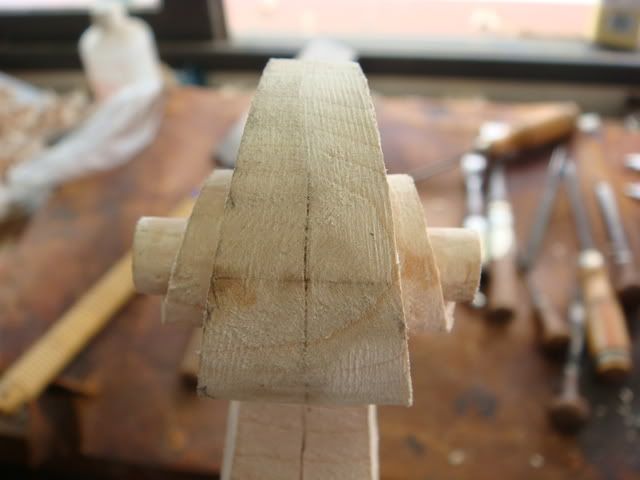
This is the front view, I'm going to rework it a bit in the next steps:
Carving a scroll - step by step - part VIII
June 23, 2009 14:33
Undercutting the turns... notice that I'm leaving a flat area near the edge of the turns to be chamfered later. The gouge (a small gouge, Stubai, with a small mushroom handle) rotates around the turns, the sweep of the gouge must conform to the turns diameter. The gouge is rotated "down" the turns:

I draw a small circle with a divider for the last turn. The pin mark of the divider can be seen in many Italian scrolls. You can leave it or scrap it later:

For the last turn, in the eye, it's impossible to work with the saw, So I work with a gouge that has exactly the same diameter of the eye. I rotate the gouge upright and then undercut:

I use a small chisel here:

to get this:

The last gouge stroke in the end of volute is quite important. The eye of the expert will be directed to this point instinctvely. I do that with two gouge strokes, the idea is making this, and making it deeper:

I undercut a bit more:

Here I have cleaned the surfaces with a small shaped scraper and now I'm reworking the throat, a quite important region in terms of style (notice for instance how the throat on Del Gesù's (Catarina Guarneri, more probably) Leduc points down):

Carving a scroll - step by step - part VII
June 22, 2009 14:02
I continue sawing with my Japanese saw:
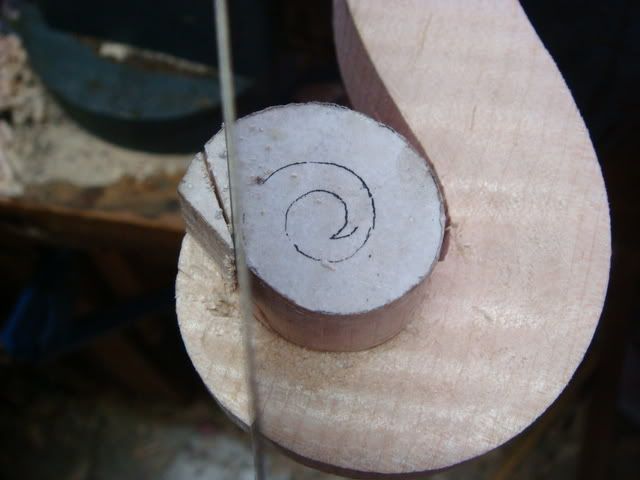
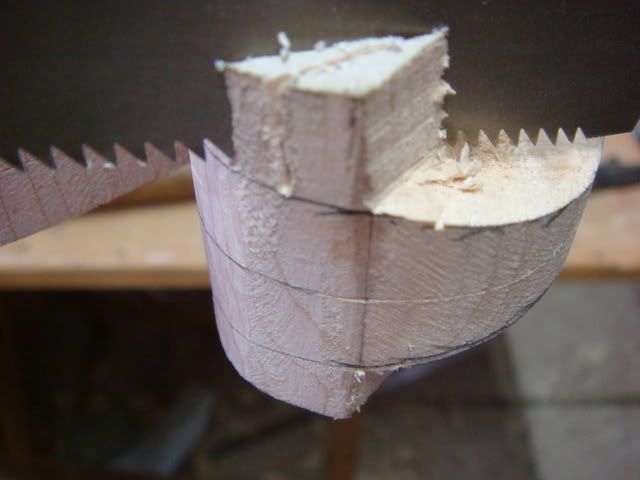
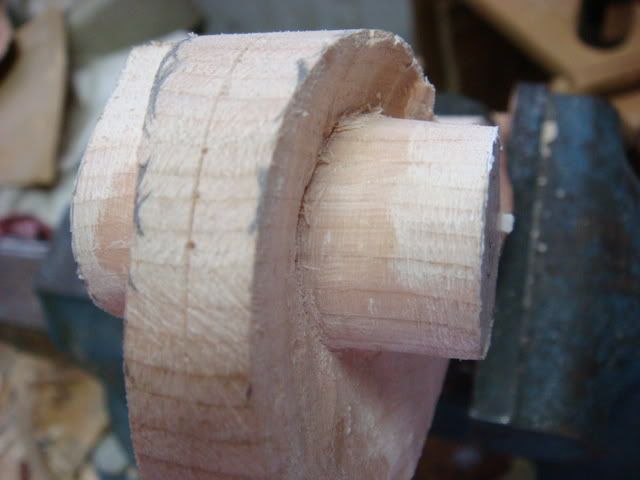
Notice the pin marks left by the dividers on centerline. These marks can be seen in many Cremonese instruments, including Stradivari, as pointed out by Sacconi in his "I Segreti di Stradivari":
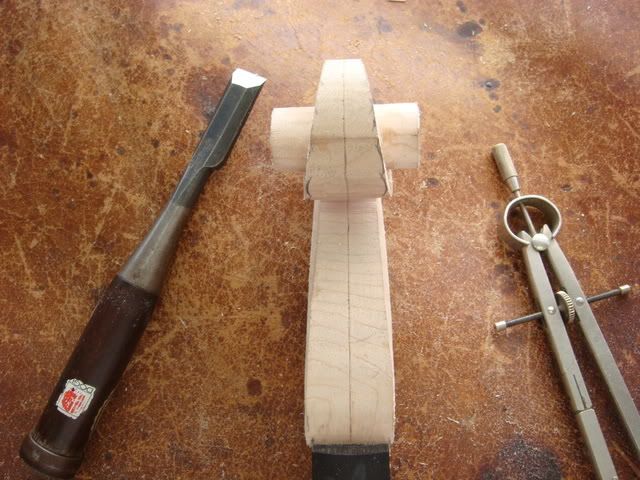
I continue cutting:
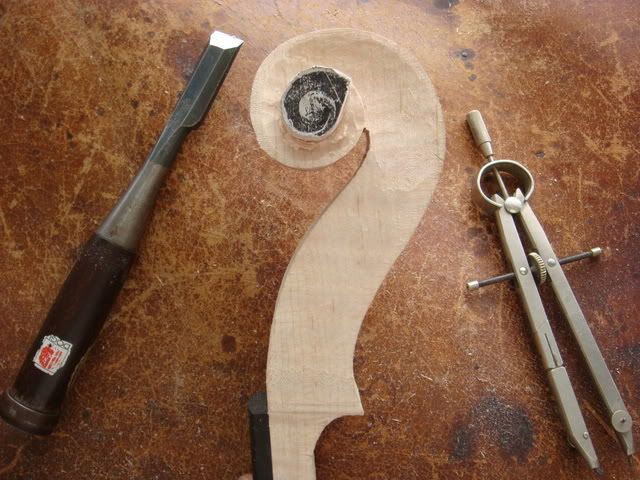
Back view:
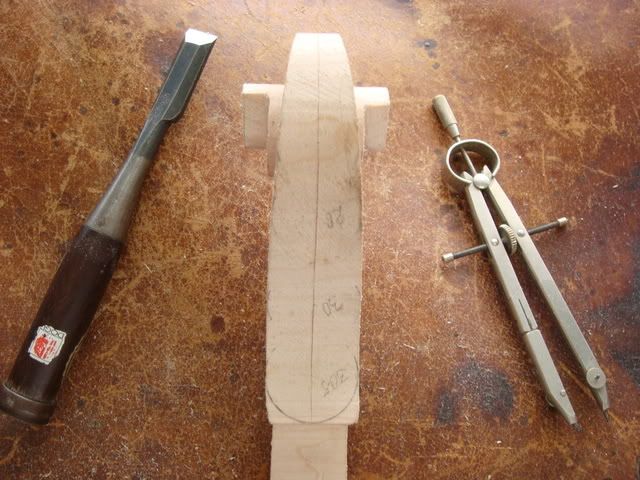
Another view:
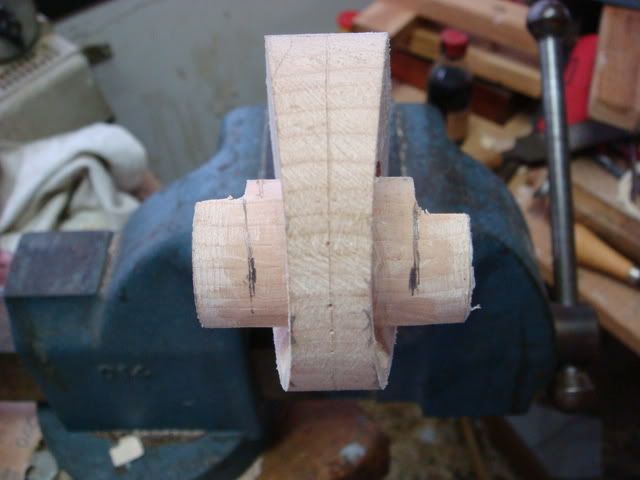
Carving a scroll - step by step - part VI
June 19, 2009 06:46
Here I'm cutting the walls with a gouge.
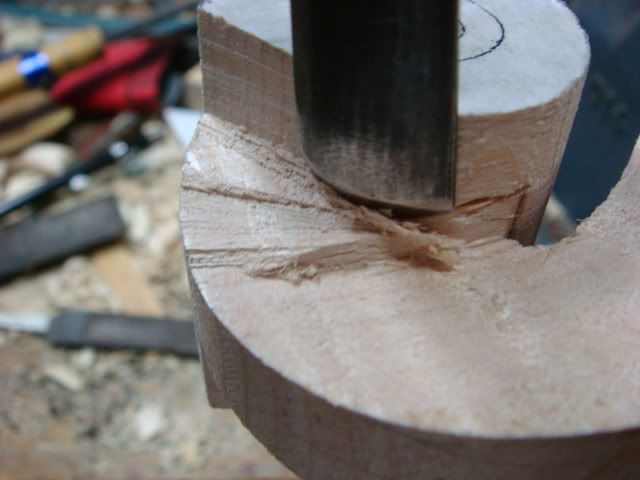
More cuts:
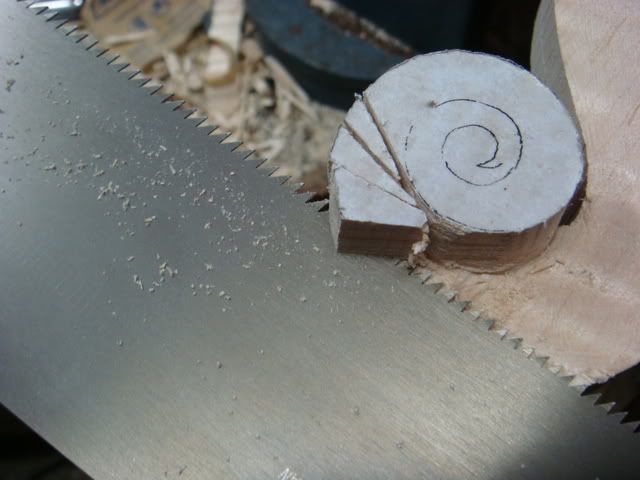
Again the use o small rasp to reach the line, then I use the gouge again:
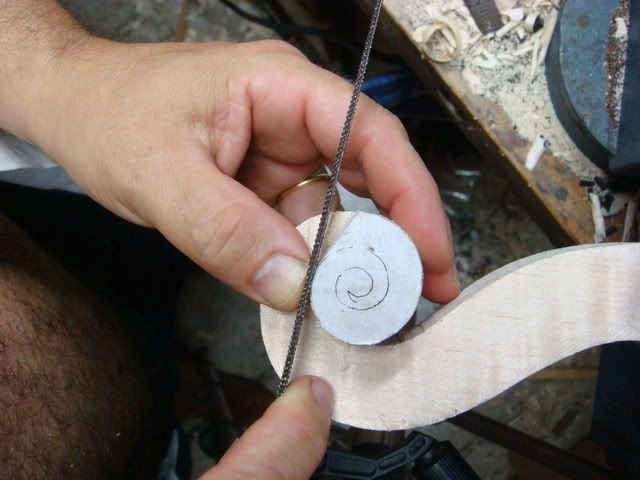
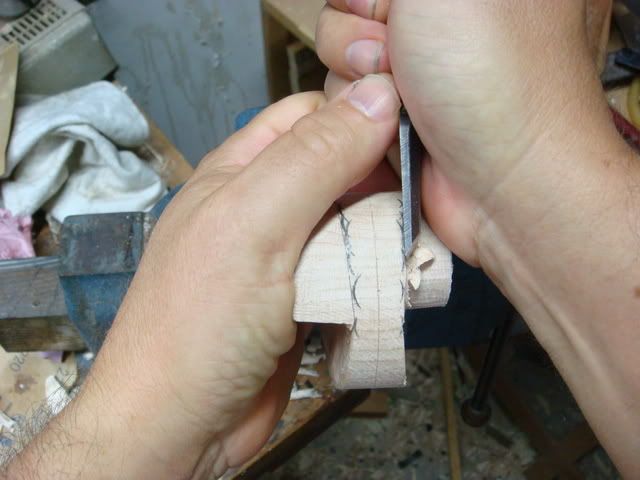
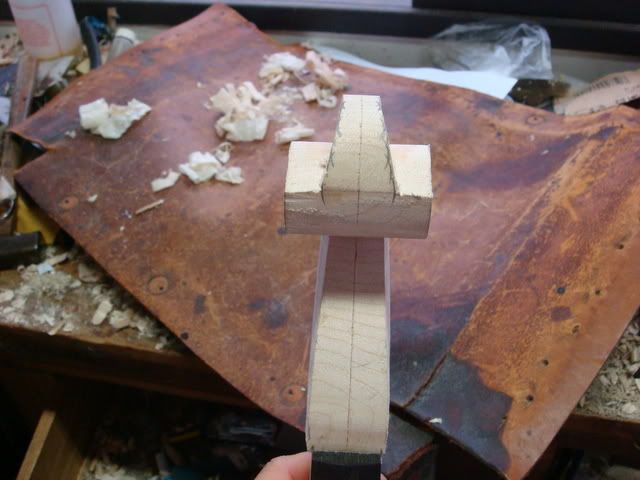
Back view:
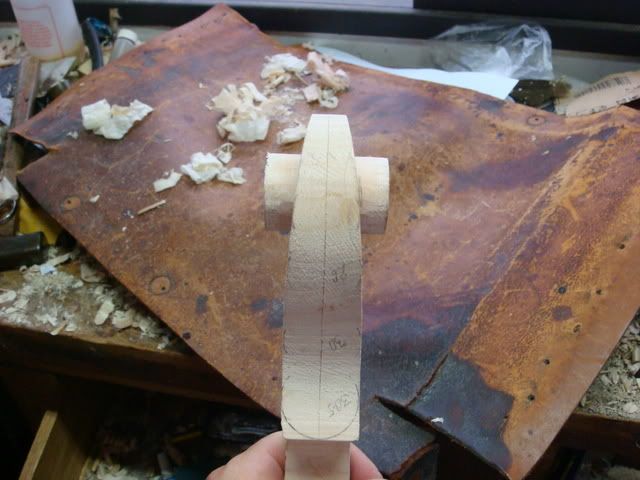
Side view. Just advance to the next part when you have your work clean and cut to the line, this is VERY IMPORTANT, otherwise you will not have a good reference to continue your work:
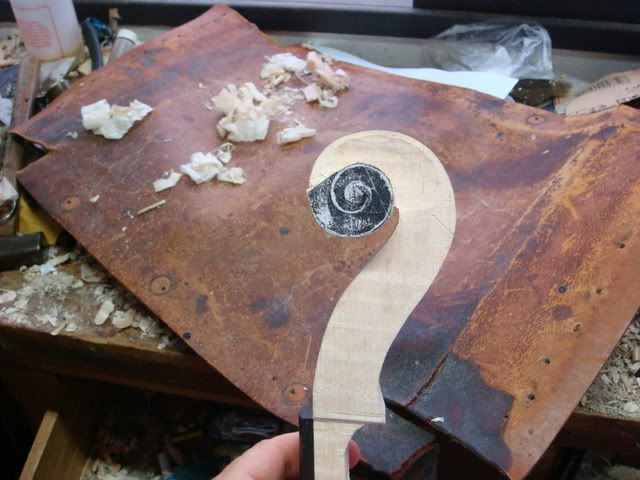
Carving a scroll - step by step - part V
June 17, 2009 17:12
Now I have this:
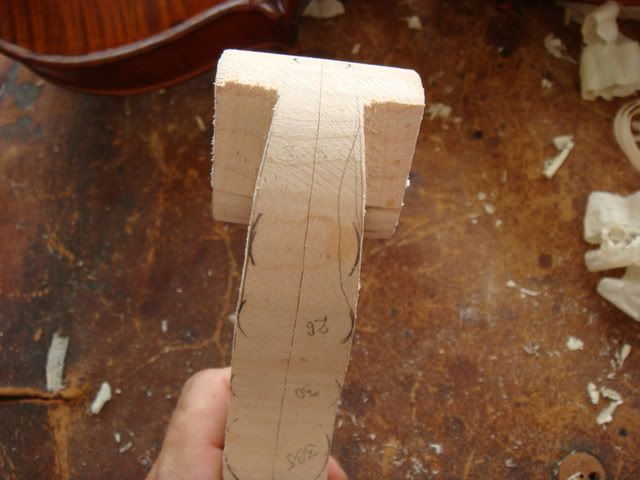
I continue cutting with my Japanese rip saw:
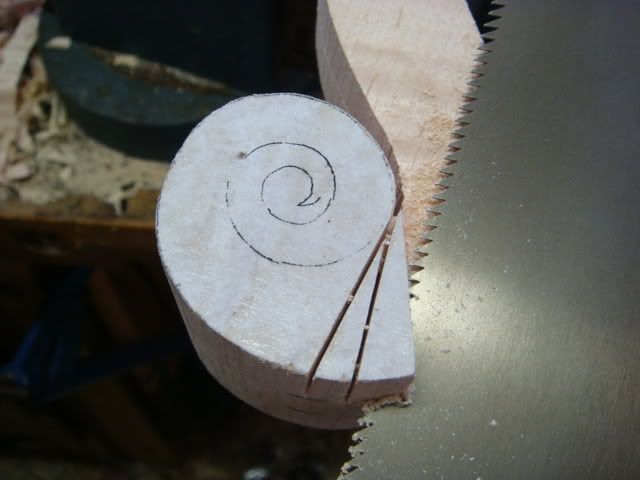
Now I correct the outline of the beggining of the first turn with a rasp:
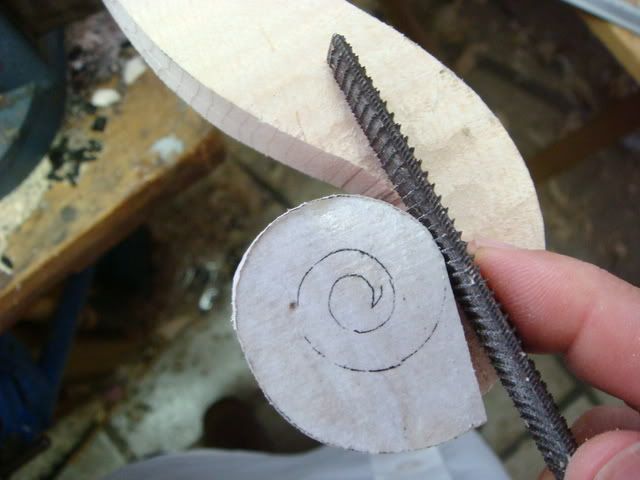
Now with an almost flat gouge I taper the front face of the pegbox. The pegbox is tapered also from the back to the front side, so it's wider on the back of the pegbox and narrowner on the front face of the pegbox. Some Italian makers made the pegbox (front view) parallel or almost parallel, I prefer making it with some tapering:
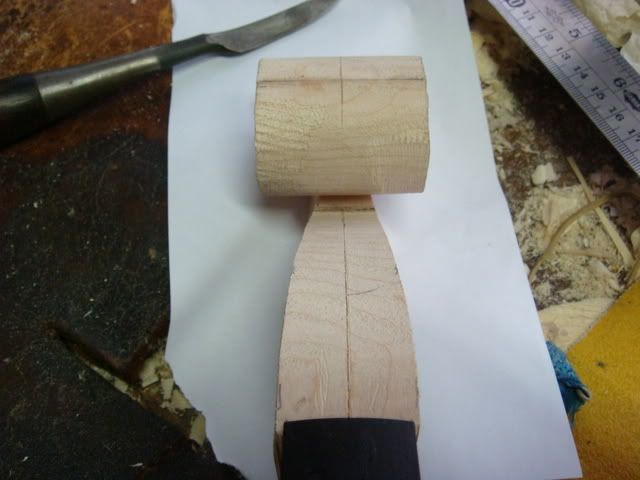
I check the end of the pegbox width, in the root of the scroll (throat), in this case it's about 17 milimeters:
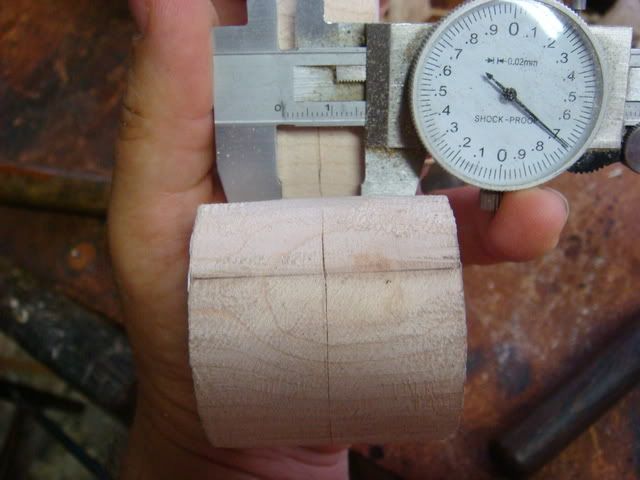
I continue tracing circles to guide my cuts. The scroll measurements can be found in Strad posters and other books, such as Biddulph's on Del Gesù. I'm not following any given measurments to make this one, I'm a bit guided by my eye, but I check sometimes with one of my own scrolls:
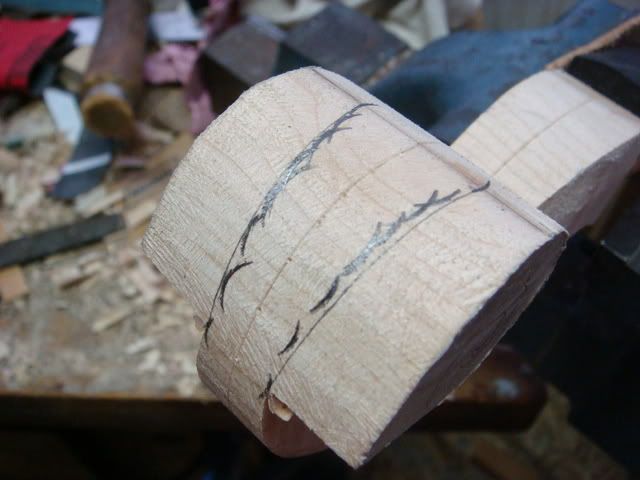
I continue cutting with my Japanese saw. The cuts must be made in a square angle, so be sure that your neck block is clamped in a correct position in your vise:
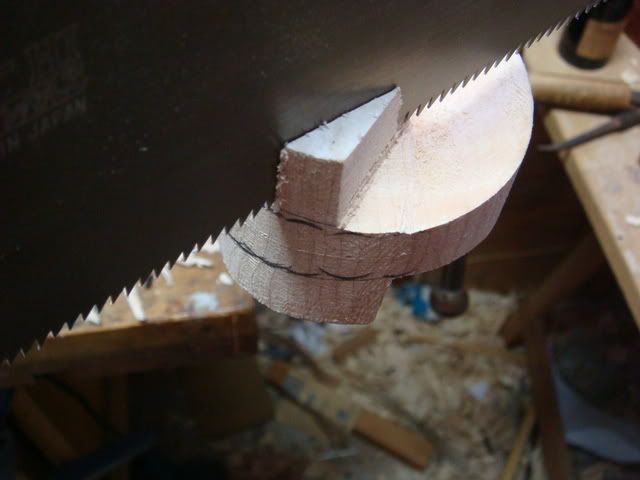
Royce, I hope you have already got your maple neck block, some chisels, gouges and saws.... wellcome to the club!!!
Carving a scroll - step by step - part IV
June 16, 2009 12:29
Now, with the fingerboard faced down (and protected by a piece of leather) and with the top of the scroll facing down the table of my bandsaw, I make two cuts following the pegbox lines, take care to don't touch the part of the scroll you are not seeing and is facing the table of the bandsaw. When the cuts are done I have this
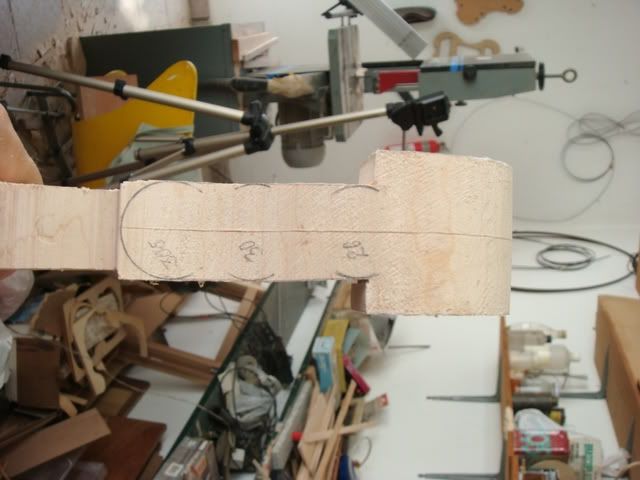
Royce, maestro Carlo Vettori wrote a book called "Linee Classiche Della Liuteria Italiana", an interesting book in which he describes some stylistic aspects of violins. On page 72 he describes the two types of back pegboxes:

I'll quote Maestro Vettori: "In fig. 35 we have a predominance of two parallel lines in the design of the channeling. This, again, is the design used by Stradivarius and by other classic Italian makers such as the Gragnani family of Leghorn. The pyramidal design for the Channeling shown in fig. 36 was used by several other very important Italians including the Amati family" (book mentioned, page 67). If you happen to visit the gorgeous city of Florence go to visit maestro Vettori in his lovely shop on Via Guelfa.
Now I continue tracing circles with my dividers. This technique of drawing directly to the wood, without pre made templates was used in many old crafts:
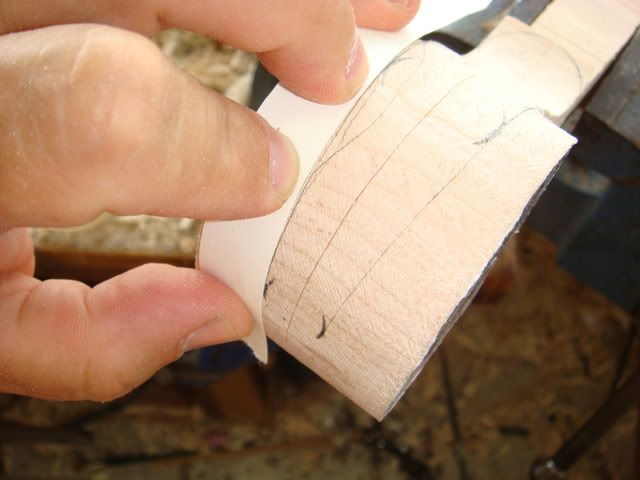
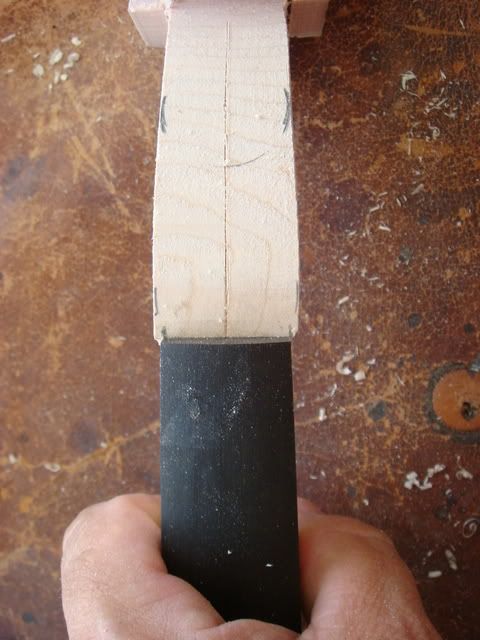
Here the front view. Notice that I left the front side of the pegbox wider than the part in the end of the fingerboard, in order to make it with "cheeks". These "cheecks" are seen in some old instruments, they had wider fingerboard and when new narroner necks were grafted to these old scrolls the "cheecks" were created:
Now with a Japanese saw (I think it's a Dozuki (or Kabata) rip saw) I make the following cuts. Take care again with the scroll beneath. This Japanese saw makes a fine cut, less than one milimeter, much less I think. Notice also how the piece is hold in the vise:
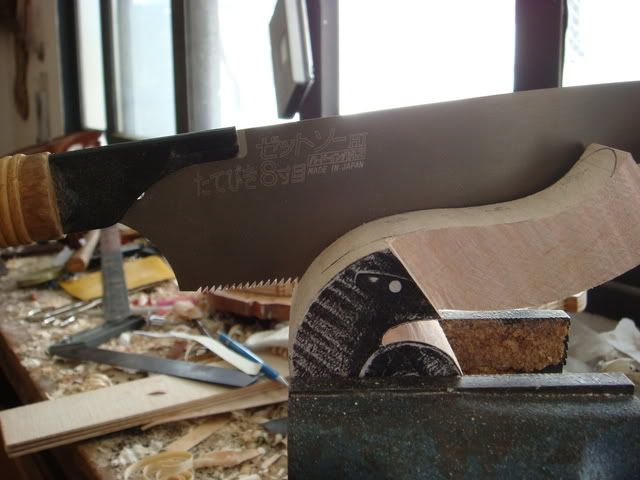
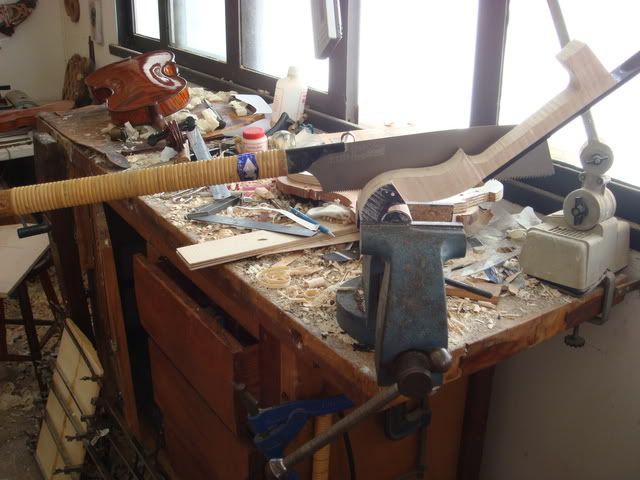
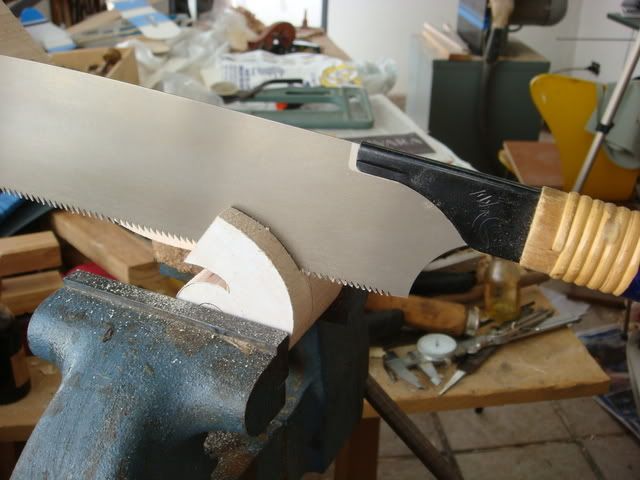
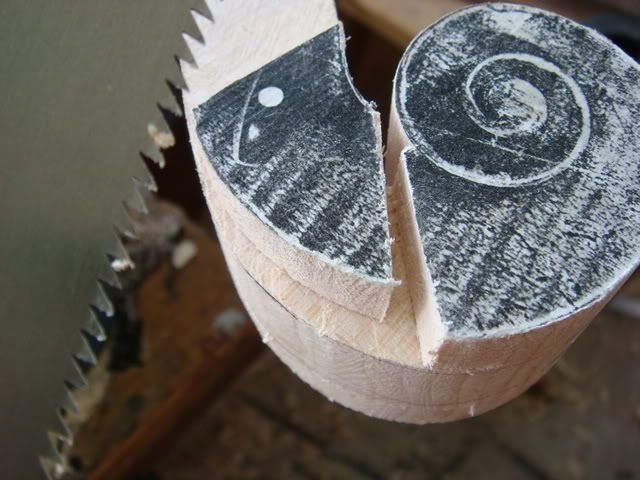
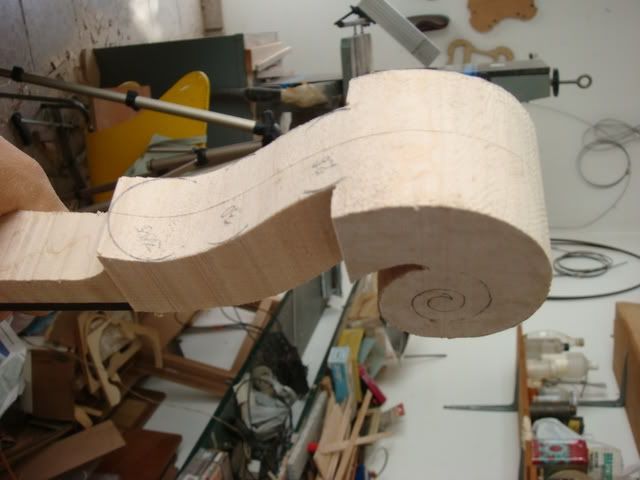
Well, this last photo should be above, but I'm a computer nerd and I don't know how to edit it to post it in the proper place...
Carving a scroll - step by step - part III
June 13, 2009 14:32
Now I trace the middle line all over the scroll. The remains of this line cut with this marking tool can be seen in the scroll of many instruments of the Italian school.

With dividers I'll mark the centered position of the fingerboard:

Now the fingerboard being glued, I used some of my bass bar clamps to do that.

With the same hot glue I used to glue the fingerboard I size the endgrain of the neck root. If you don't do that, when you glue the neck to the soundbox the glue will penetrate in the endgrain, resulting in a poor joint:

Now I'll cut the wood from the fingerboard's sides till its end, I'll cut it with my bandsaw, near the line, of course the fingerboard must not be damaged by the saw.

This is what I have now:

Now I'll make the sides of the neck flush with the fingerboard, I'll use a wide gouge to do that initially, a coarse rasp can do that too but, again, don't touch the finished fingerboard:

Here I'm working in the neck root part with a wide Japanese chisel (nomi)

Now I'll trace the circle lines to start removing the wood from the sides of the pegbox. Notice how the back of the soundbox starts with a relative parallel lines and then tapers. Some pegboxes are formed by a continuous tapering of the sides, making them a bit "triangular", I don't like this type of pegbox back, I prefer this type I'm making that is found in the best Italian School:

www.manfio.com
Carving a scroll - step by step - Part II
June 11, 2009 09:39
Now I will cut the outline in a bandsaw. I start cutting the neck root, I use an angle guide to make a precise cut:
 ]
]
I continue cutting, I'm cutting near the line (risky) so that I'll have less work to refine my outline. The "throat" is an important aspect of the style of the maker:
This wood is generous in size, perhaps I'll be able to make a violin scroll with the rest of the wood:


Now I use a big, coarse rasp to take off the saw's marks, it removes wood fast, I have to work quickly:
 Here, with a smaller coarse rasp I work on the volute region. I have to keep the rasp flat over the surface to cut uniformly, notice the position of my hands, specially the left hand thumb applying some pressure over the rasp:

Carving a scroll - step by step - part I
June 7, 2009 16:19
I think that it's important for players having some information about how their instruments are made.
This is the way I carve my scrolls, others certainly carve them differently. The basic idea is giving some notion about the process I use.
My photo abilities are far from being perfect...
This scroll will be inspired on Andrea Guarneri, from the PRIMROSE viola pictured in Bein & Fushi monograph, but I'll make it without shoulders (that we call "ganasce", in Italian), since many violists don't like them and I want a light scroll also.
I start planning the surface that will receive the fingerboard, here I'm using a RECORD NO. 7 plane with a Japanese laminated blade:

This is my neck block with the planned upper face. I'm using flamed wood but plain wood is reccomended for begginers, since it's more easy to carve:

Now I'll reduce the neck block to its final thicknesses, that is the maximum width of the scroll, that corresponds to the eyes or last turn, in my case 46 milimeters (remember I'm carving a viola scroll). Since the sides of my block are parallel, I'll use a bandsaw to make two square cuts (with the planned fingerboard side down, facing the bandsaw's table) that will reduce my neck block to 46 mm.
Since the blade will make both cuts square, I'll have no need to square the upper face of my block with the side faces. I'll not touch the side faces with a plane again, since I want to keep it square, just the smal circle of the last turn will be be visible when the scroll is finished and I can refinish this small part later. Working with the plane now would require more time too, and I have to work fast:

Now I'll trace a center line (that we call "mezzeria" in Italian) in the fingerboard face with this Japanese tool. This line is made by a small knife and will be permanent:

Now I'll take a xerox copy (real size) of the side views of my scroll model. I had just one view of this scroll, so I had to make a "negative" drawing of the other side. I find it an easy way to work, because I don't have to make models and I'll make no mistake while transferring the outline to my neck block. Many books (such as Biddulph's on Del Gesù) have both side views of the instruments pictured real size.
I'll aligne, center and glue (hide glue) these copies over my neck block, of course both sides must be perfectly aligned to each other. I apply hide glue also over the paper:

Now I use a template to mark the neck, the neck rood, and a special square to mark the final angle of the neck root:

Since we can't replace cut wood, I'll check all lines prior to cut it, mainly the distance from the fingerboard/upper nut line to the end of the neck line. Bear in mind that you will dovetail the neck to the upper block, so, if your neck length is 150 milimeters (as in my case) you will have to have about 8 milimeters more for the dovetail. I check it visually with one of my instruments:

Double, triple check everything prior to cut it.
This is a view of the neck block with the main lines:

Now I have to rest for a while!!!

